
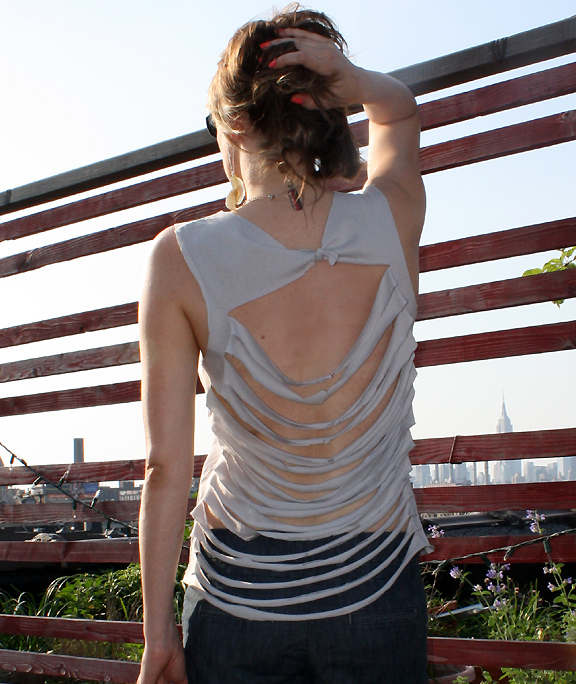
And just in time for the hot hot heat! Lets just say I've installed some built in ventilation, to keep cool thru the dog days of summer
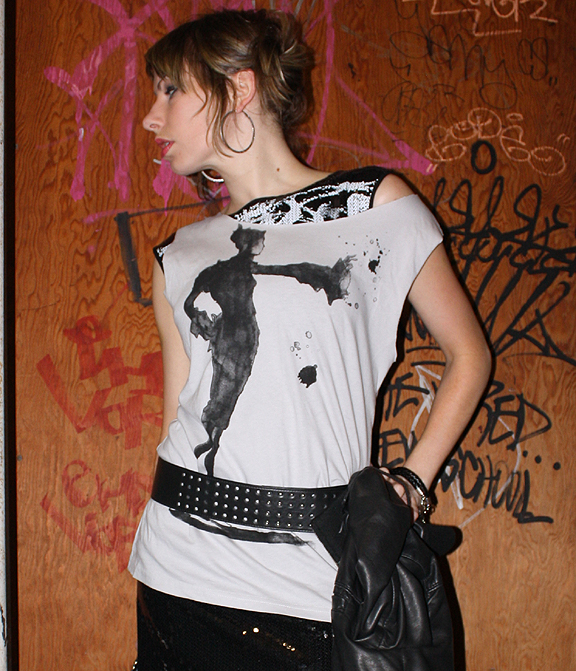
You might recall the Garrott Tee started out slouchy with the size I chose. And my first DIY with it was to cut the neck making it more of a "Flashdance" off-the-shoulder look:
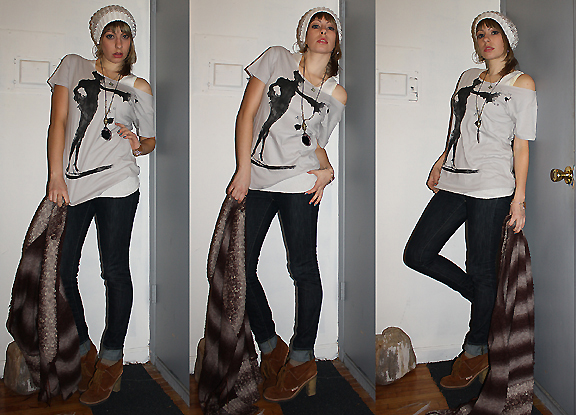
After the first DIY, I then took to the sleeves and chopped those off for another look:
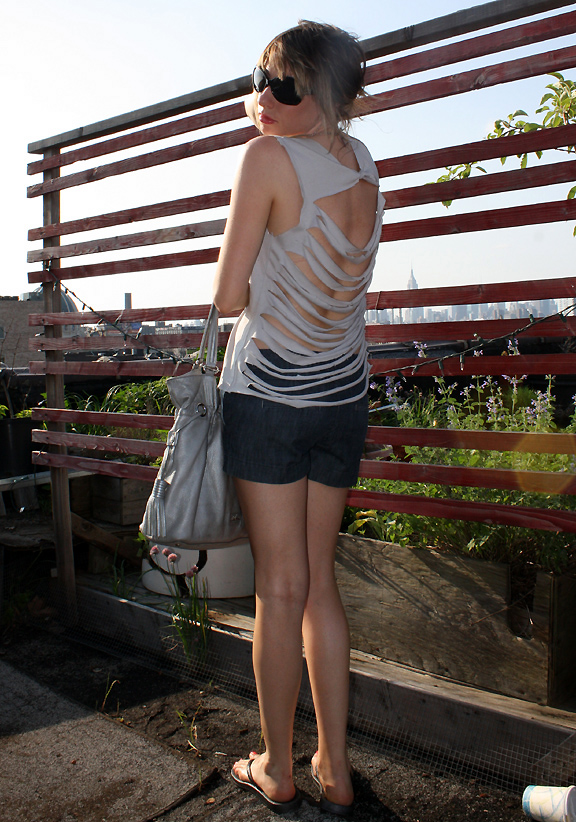
This time, I just went to town with my scissors! Cuts, slashes, ties, more fitted in the front-completely ripped to shreds in the back:
Oh, and I chopped about 2" off the length at the bottom of the tee.

So, want to know just how I did this? Probably not...but I'm going to tell you anyhow so you can get yoursellf all air-conditioned this summer too.
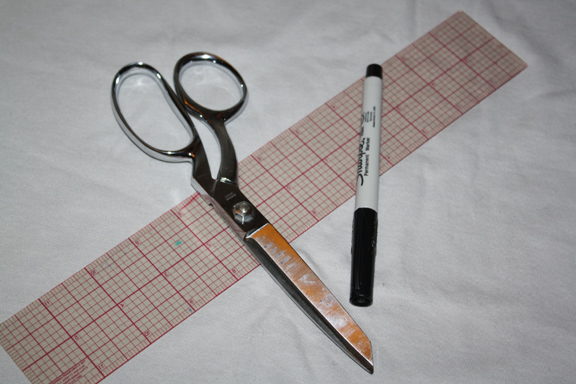
1. You'll need just 3 supplies: scissors (nice shears used to cut fabric, do not use paper scissors!), a marker, and a ruler.
2. Place ruler vertically from neckline down to hem. I chose to make slits 1" apart from one another, therefore I marked 1" hash marks all the way down. (I started 2" down from neckline as you can see)
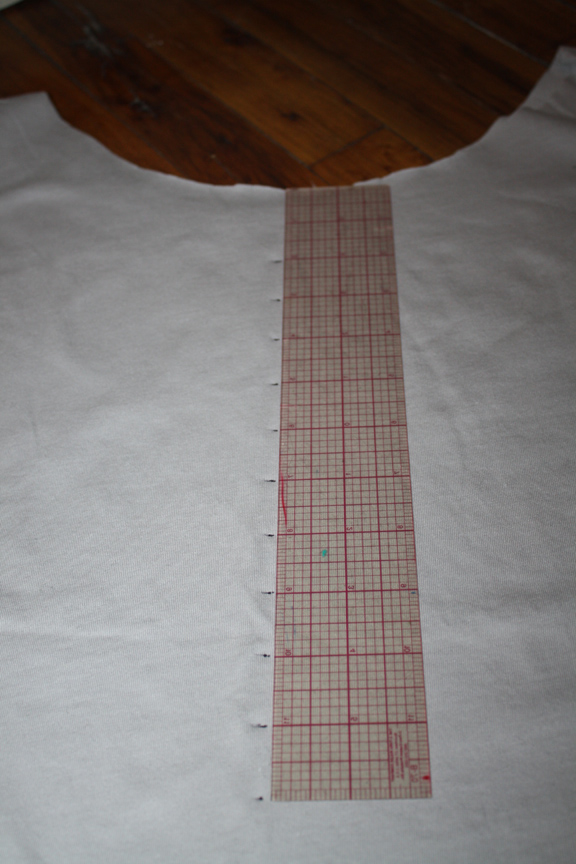
3. After marking my spacing all the way down to sweep, I then drew horizontal lines across the back of the tshirt.

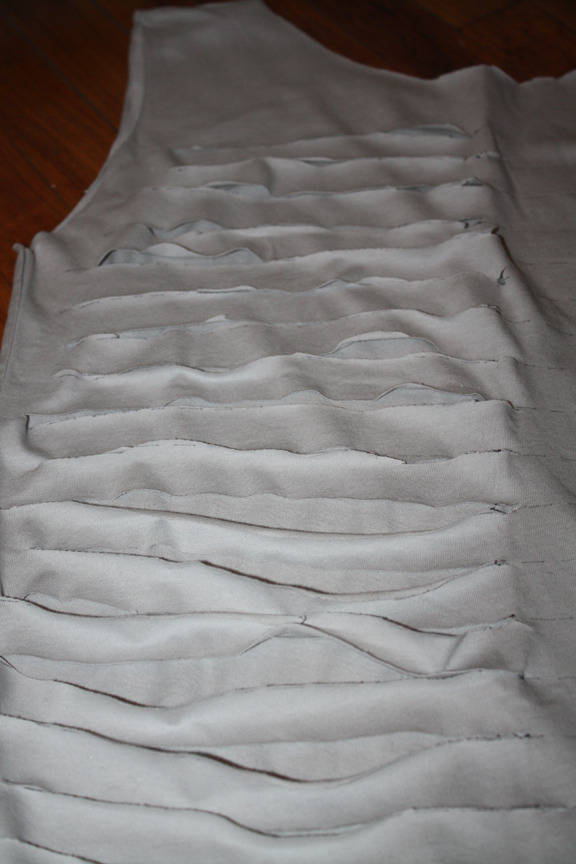
4. Get ready to cut! I found it easiest to pull up the shirt and create a little fold where hash marks were, this makes inserting the scissors easy. I then proceeded to cut slits all the way across horizontal lines on the left half of the shirt. I then went back and cut the other half on right side of shirt.
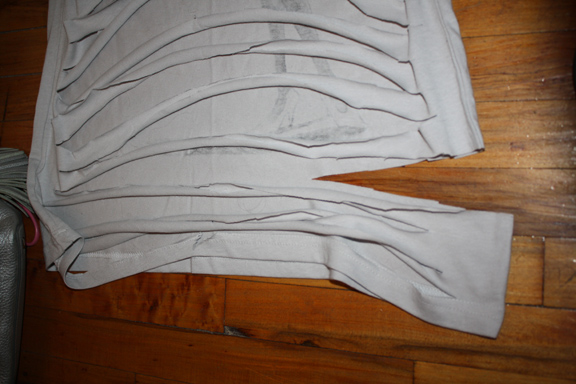
5. I tried the shirt on and thought it was too long, so I cut off the bottom 2-1/2" of the tshirt's length; this is a personal preference all your own.
6. Finally, I cut the top 2", right below neck, in half--I created a tiny little tie with these two sides, thus creating a more fitted looking front view than the tshirt originally had. (Look back near beginning of this post and you'll see the little tie at center back neck that I'm talking about).

So there you have it...completely DIY'd and ready to go thru the hot summer days. At this point, the shredded shirt really isn't appropriate for much more than casual attire; um FLIP-FLOPS! (yeah get a good look now kids, me in flats...let alone flip flops??? Rare rare sight! This happens about as often as 3 eclipses in one month--which is also happening this June, I know because I read my horoscope! LIBRA, lets here it for the creative artsy fartsy venus ruled sign!!!)
Just how are you going to cut up some tshirts for summertime? You know you wanna!
Wearing:
*Gray "Without my Muse" tshirt-Garrott Designs
*Blue denim shorts-F21
*Black flip flops-unknown
*Silver leather bag-Cole Haan
*Black sunglasses-Foster Grant
8 comments:
I made a shirt kind of like this, too! I love it, but I'm afraid if I bend over whilst wearing it and the shirt drapes forward I'll flash major boobage! Maybe I'll have to try it again with your tying idea!
and your boobs still look awesome! wait, what?
this is seriously great though!
xo.anna marie
What a cute DIY project, not sure I could pull it off as well as you though (-:
Can I second anna marie's comment :P
LOVE what you did with the shirt. The shirt, shorts & flip flops have such a nice casual look to it. You look gorgeous!! Kara XOXOXO
awesome DIY!
this tee has gone so many transformations i love it.
you should make a post about all the looks with it in one photo!
wow - J
I remember two summers ago, I spent a few days picking at a plain white t so that it laddered just right. i really ought to find that t...
i love yours!
www.cashmereandcandy.com
Post a Comment